Monday, October 23, 2006

David Sandlin in His Studio (work in progress, 13)

Step 13

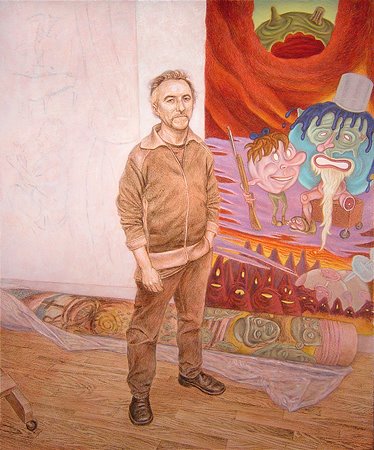
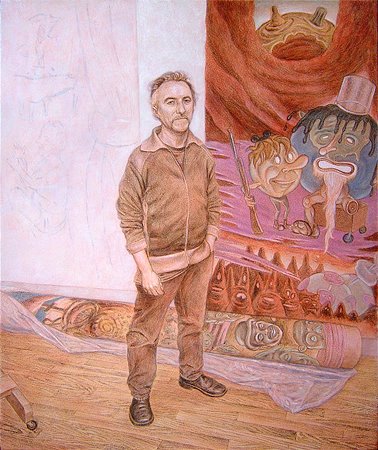
I'm working on a few more areas now, simultaneously. I continue to strengthen David's painting on the right side of the canvas, and have started to solidify the white wall behind his head as well as the depiction of his charcoal drawing to the left. My "whites" for those areas consist, at this point, of pale green tones (green earth + titanium white) over the pinkish underlayment. I'm also using delicate grays made from terra nera Romana and zinc white to begin to suggest smeared and partially erased charcoal passages. I applied a faint glaze of light yellow ochre and zinc white over the floor.
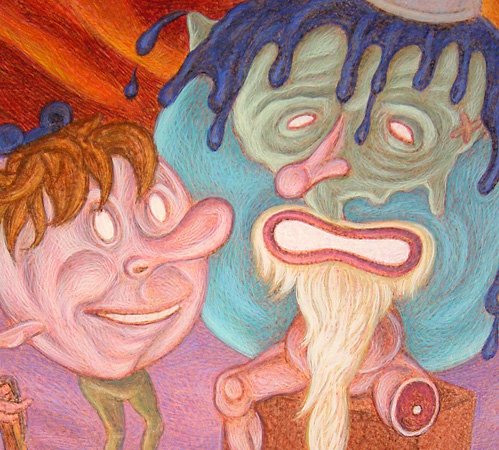
The challenge, I think, with my depiction of both David's drawing and especially his painting (besides making them look like his work) is to make them appear at once to be flat surfaces on a wall behind the artist yet have the vitality of the originals. I'm trying to keep their color intensity and modeling slightly in check so that the "3-dimensional" figure of the artist will emerge from the space by contrast.
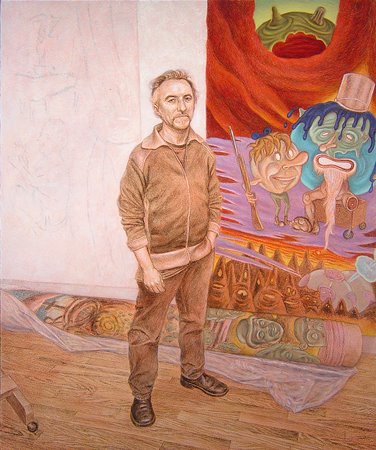
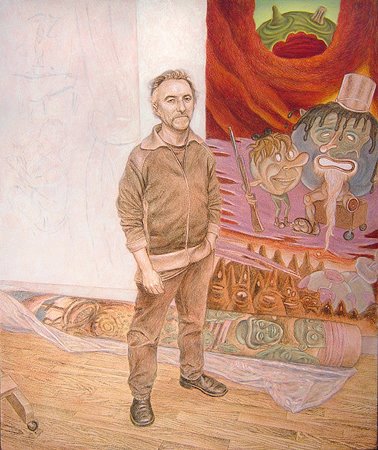
Though the differences are subtle and probably not even apparent in these photos, a lot of painting has transpired since the previous post. It occurred across small areas and in multiple, overlapping layers of colors.

Sunday, October 15, 2006

David Sandlin in His Studio (work in progress, 12)

Step 12

The painting of the painting behind David is gradually becoming more resolved (though scant time in the studio this week slowed down the process.) Below is a detail of the father and son globe figures. The Blogspot mechanism seems to degrade my image focus slightly, but the hatching technique is still apparent in this blow-up. I'll go to the kid's hair next and the block that the old bearded one is sitting on.


Monday, October 09, 2006

David Sandlin in His Studio (work in progress, 11)

Step 11

I'm continuing to work on the elements surrounding the figure. The practice is still the same as described earlier. I go over previous, thin washes of local color with more saturated glazes. I then modulate and augment those passages with a dry brush and more opaque colors. In general, I model each area of color with overlapping hatch marks of progressively lighter values; i.e., from dark to light.

Thursday, October 05, 2006

David Sandlin in His Studio (work in progress, 10)

Step 10

I'm going to keep the figure of David unworked for a while, as I begin to bring the other areas around him closer to a finished state. I'm glazing with more fully saturated colors, but mainly modulating the surface with a close pattern of translucent and opaque hatchmarks. What I want to do is surround David with approximations of the color values and resolution of forms that I think I want to end up with. I guess I'm trying to "set the stage" he inhabits before developing the central figure, rather than bring David into focus and then work the space around him. Also, I'm painting the elements in the pictorial space from back to front, distant objects first. I think that kind of actual, physical, overlapping of painted forms helps to create a sense of objects situated in a believable space, one in front of the other. Certainly, once I begin to render David's figure, I'll have to make adjustments to the other areas. There will be a lot of give and take among the elements as the painting progresses. Athough the area of the painting in the upper right corner where I've concentrated looks relatively complete, it is by no means so.

Monday, October 02, 2006

David Sandlin in His Studio (work in progress, 9)

Step 9

I have begun to apply transparent washes of local colors over my monochromatic underpainting. Basically, I want to establish the general color array of the composition. I'm mixing very dilute glazes of inherently transparent pigments -- yellow ochre, terre verte, prussan blue, red earth, etc. If I need to add white pigment to the mix, I'll use zinc white, which is much less opaque that titanium. I want to ensure that the details of the underpainting are not obscured at this early point.

Sunday, October 01, 2006

David Sandlin in His Studio (work in progress, 8)

Step 7 (or 8...)

I've gone about as far as I want to with the underpainting. A little more umber, white, black, and Venetian red casein. I could probably take it a bit farther, but, as is usually the case, I stopped when I became impatient to work in color. So, the next step is to brush over the entire surface with a dilute egg yolk wash (around 8-10 parts water: 1 part yolk) to seal the surface somewhat. The casein surface is fairly "thirsty." If I prime the underpainting with a little egg, the tempera goes on easier in the early passes.