 Step 2
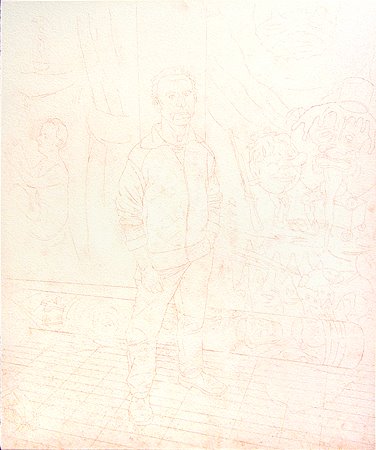
This faint image shows the results of transfering the composition from the original drawing to the gessoed panel. I made a tracing of the drawing onto "vellum," a.k.a. tracing paper. Across the back of the vellum I rubbed a coating of red-earth chalk. Actually, the chalk is a chunk of naturally pigmented, dry clay purchased from an art supply store in Florence, Zecchi, and really well suited for this purpose. I fix the tracing to the panel, chalk side down, and draw over the lines again to impress them onto the surface of the gesso. It's like using a carbon paper to make a copy. What's the point of going to all this trouble, you might ask? Why not just draw an image directly onto the gesso? Well, rabbit-skin glue gesso is very absorbant and fairly soft. I mess up a lot when I'm trying to find the forms in a composition. This way I can work out a lot of the initial problems on paper and erase or redraw as often as need be without mussing up the gesso surface. When I finally get the drawing right, or close to it, it's a simple matter to dupe it to the panel. The next step is to reinforce the transferred image. Some people use dilute India ink, or egg tempera. Lately, I've preferred to use casein paint.
Below is a photo of my pieced-together vellum. The blue dots are just some adhesive drafting tabs I had on hand that I used as tape.


No comments:
Post a Comment